Resources
Build a cabinet box: plan a case from sheet goods
Almost every piece of sheet-goods furniture starts as a box: two sides, a top, a bottom and a back. Shop cabinet, base cabinet or credenza, the planning follows the same rules. Know them, and you get a cut list where everything fits at assembly.
In short: Parts that sit between others are two material thicknesses shorter than the outside size: at 24 in wide with ¾ in plywood, the top and bottom are 22½ in long. An applied back has the full outside size and squares the box. For adjustable shelves, the 32 mm hole system is common.
Updated November 11, 2026 · CuttingFox team
CuttingFox does the math for you: enter your sizes and get a cutting plan, free and with no sign-up.Start planning →
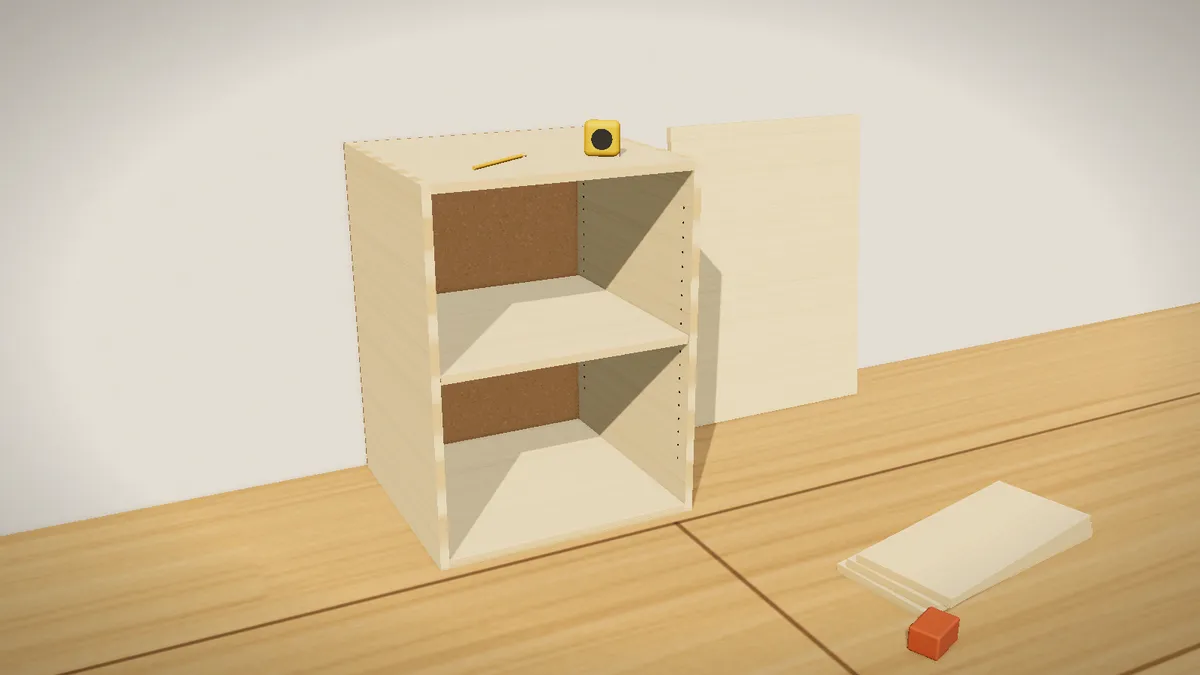
Two ways to build the box
Parts that sit between others are two material thicknesses shorter than the outside size. Forgetting this is the most common mistake when building a box. There are two usual ways to build it:
- Sides run full height: the top and bottom sit between the sides. This is common for floor-standing cabinets, because the load goes down through the sides.
- Top and bottom run full width: the sides sit between them. You see a solid top surface, as on wall cabinets or credenzas.
Example: a 30 × 24 × 22 in box from ¾ in plywood
| Part | Size (in) | Qty |
|---|---|---|
| Side | 30 × 22 | 2 |
| Top and bottom | 22½ × 22 | 2 |
| Shelf | 22½ × 22 | 1 |
| Back, applied (¼ in) | 30 × 24 | 1 |
A width of 24 in minus two ¾ in sides leaves 22½ in for the top, bottom and shelf. The 22 in depth does not include the applied back. If your plywood measures 23/32 in, recalculate: the inside parts become 22 9/16 in.
The back
- Applied: the back is nailed or screwed onto the back edges and has the outside size of the box. It is the simplest option and pulls the box square.
- In a dado or rabbet: the back sits in a groove or rabbet and is hidden from the side. It is smaller than the outside size; allow for the groove depth and a little clearance.
- Backs are usually ¼ in plywood or hardboard. Give them their own material group in the planner.
Shelf-pin holes
Adjustable shelves rest on shelf pins in rows of holes. The 32 mm system is widespread: 5 mm holes spaced 32 mm apart, usually 37 mm from the front edge. A drilling jig keeps all four rows level. If needed, cut loose shelves about 1/32 in short so they drop in easily.
Plan it with the furniture assistant
- Open the furniture assistant in the planner and enter height, width, depth and material thickness.
- Choose the construction, the number of shelves and whether an applied back is included.
- Open the cut list as a new project and enter your supplier’s sheet size.
- Calculate the plan. The planner shows how many sheets you need and, if you like, the feet of edge banding for the front edges.
At assembly
- Measure both diagonals after screwing the box together. If they are equal, the box is square.
- Check the real sheet thickness before cutting; nominal and actual thickness often differ.
- Anchor tall or heavy cabinets to the wall.