Resources
Measure twice: accurate measuring and marking before you cut
Most ruined parts are not the saw’s fault but the pencil’s. A few habits when measuring and marking make your cuts reliable, no matter how good the plan is.
In short: Use one tape measure for the whole project, mark with a sharp pencil and cut on the waste side of the line. For identical parts a stop block beats measuring again. Measure each part from the freshly cut edge, because the plan already accounts for the kerf.
Updated November 11, 2026 · CuttingFox team
CuttingFox does the math for you: enter your sizes and get a cutting plan, free and with no sign-up.Start planning →
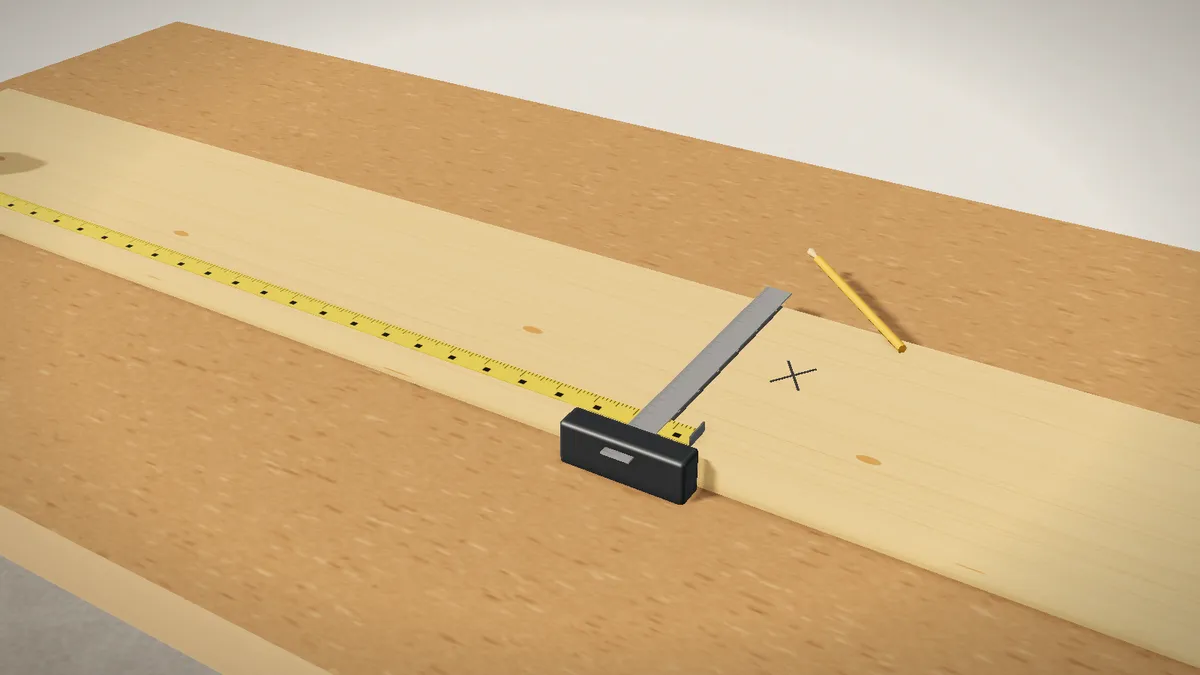
The most common mistakes
- Two different tape measures in one project. Small differences add up.
- Ignoring the tape’s hook: it slides on purpose so inside and outside measurements match. If it is bent, every reading is off.
- Cutting on the wrong side of the line, which makes the part one kerf short.
- Taking sizes from a drawing without subtracting the material thickness.
Working more accurately
- Use a single measuring tool for the whole project.
- Mark with a sharp pencil or marking knife, and put an X on the waste side.
- Cut on the waste side so the line stays visible on the part.
- Check for square with a square or by comparing the diagonals.
- For important parts, make a test cut in scrap first.
Identical parts without a tape
For several parts of the same length, a stop block beats measuring each one. Cut the first part, check it, then set the stop. That is why the planner keeps identical parts next to each other in the cutting sequence.
Plan and measurement together
The planner already accounts for the kerf. Measure each part from the freshly cut edge, not from the original sheet edge. Check off each part on the printed plan as you go, so you do not lose track on long lists.